
HOW TO LAY A GRAVEL DRIVEWAY?
Blog
If you're looking for an affordable, low-maintenance, and visually appealing option for your new driveway, gravel is an excellent choice. With its versatility and durability, a properly installed gravel driveway can enhance your home's curb appeal while providing a practical solution for vehicle access.
In this blog post, we will walk you through the step-by-step process of creating a stunning and functional gravel driveway that will withstand the test of time. From planning and preparation to proper installation techniques and ongoing maintenance, we've got you covered.
Whether you're starting from scratch or looking to revamp your existing driveway, this guide will equip you with the knowledge and confidence to tackle the project. So, let's get started on creating a stunning and functional gravel driveway that will enhance the overall aesthetic of your property.
What is a gravel driveway?
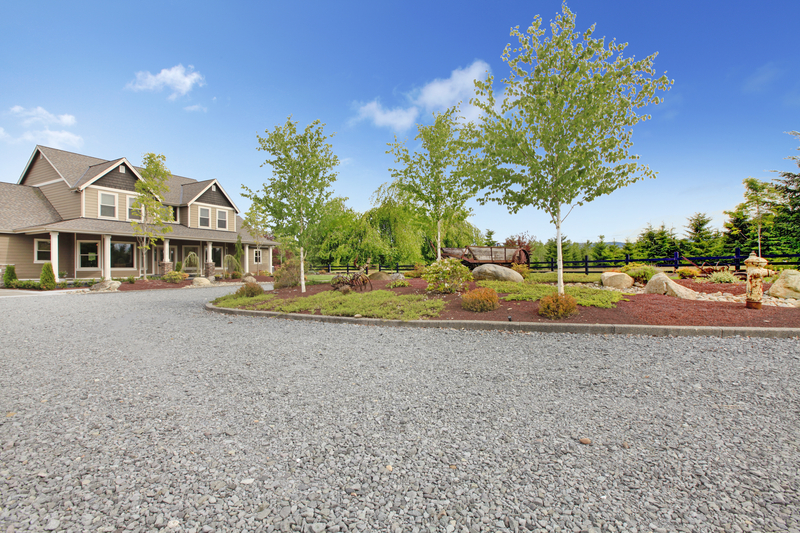
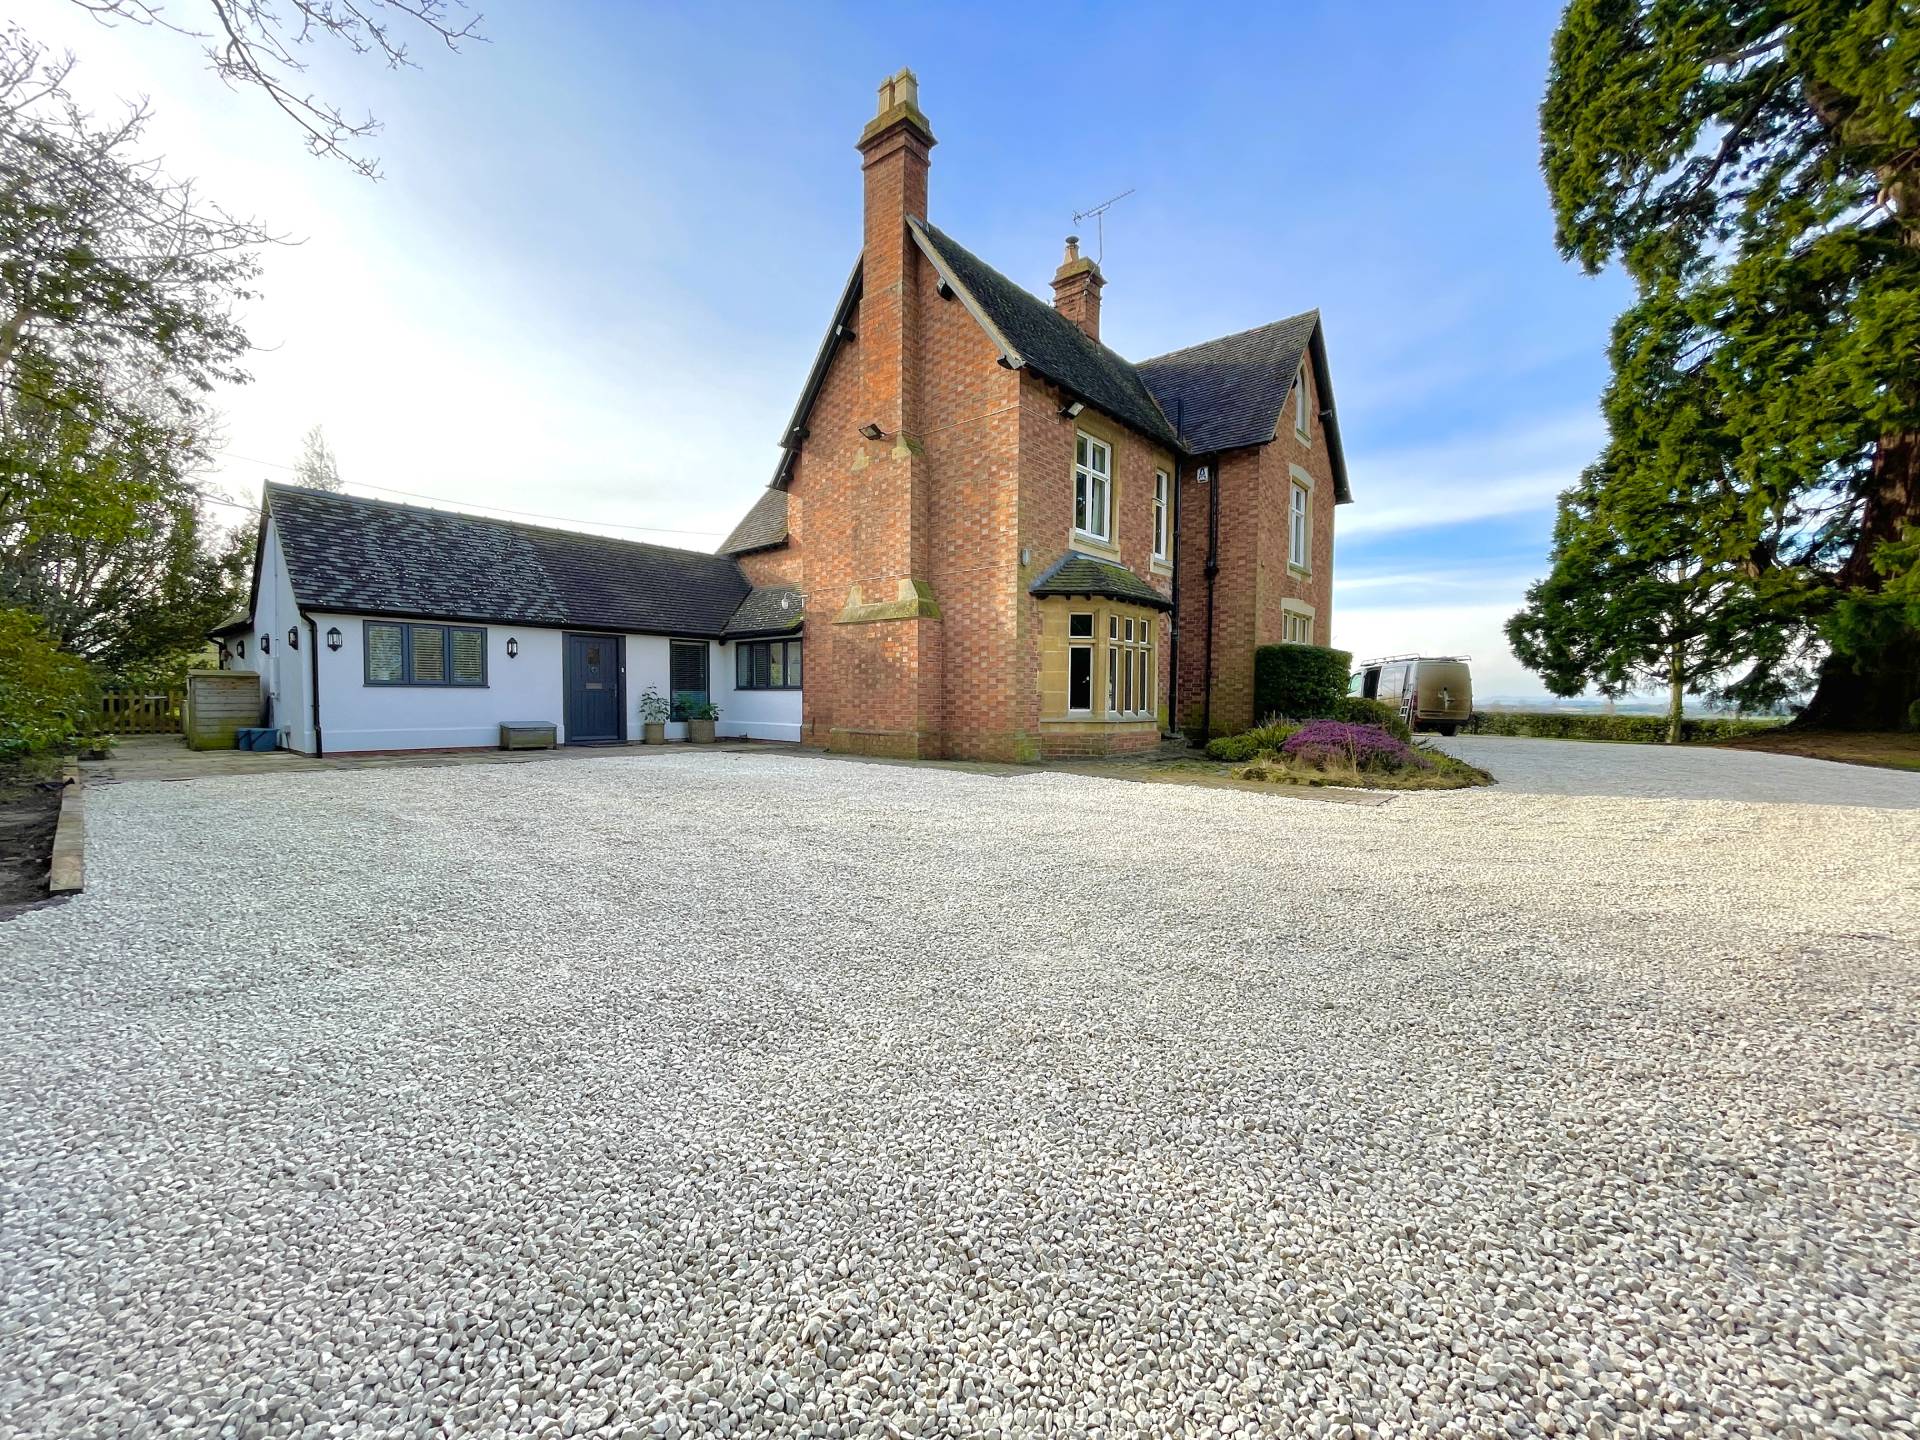
A gravel driveway is a type of driveway surface made up of loose, small stones or rock fragments. It is created by spreading and compacting layers of gravel over a prepared base. Gravel driveways are popular due to their affordability, versatility, and low maintenance requirements.
The gravel used for driveways can vary in size, typically ranging from small pebbles to larger stones. The choice of gravel size depends on personal preference, the desired aesthetic, and the intended use of the driveway. Some common types of gravel used for driveways include crushed stone, pea gravel, and decomposed granite.
Step 1: Planning and Preparation
When it comes to laying a gravel driveway, proper planning of the layout and dimensions is crucial. This step ensures that the driveway will meet your needs, be a cost effective solution that fits within the available space, and be aesthetically pleasing. Here's why planning is essential:
A) Maximising Space and Functionality:
Planning allows you to make the most efficient use of the available area. By carefully considering the layout, you can design a driveway that provides sufficient space for parking, turning around, and manoeuvring vehicles comfortably.
B) Ensuring Proper Drainage:
Proper planning considers the area's natural slope and drainage patterns. By aligning the driveway appropriately, you can ensure that rainwater properly drains away from the surface, preventing water accumulation or potential damage.
C) Enhancing Curb Appeal:
Planning enables you to create a driveway that complements the overall aesthetics of your property. By considering the architecture of your home and landscape design, you can choose a layout and dimensions that enhance your property's curb appeal and visual harmony.
So, what does the planning process look like?
D) Measuring the Area:
Accurately measuring the area where the driveway will be installed is essential. Use a measuring tape or surveying tools to determine the length and width of the intended driveway space. This measurement will help you calculate the gravel needed and ensure the driveway fits within the available area.
E) Removing Existing Vegetation:
Before installing a gravel driveway, it's essential to clear the area of any existing vegetation, such as grass, weeds, or shrubs. This step ensures a stable base for the driveway and prevents plant growth from causing future issues.
F) Marking the Boundaries:
Once the area is clear, mark the boundaries of the driveway using stakes and string or spray paint. This will give you a visual representation of the driveway's layout and help guide the installation process.
Calculating the amount of gravel needed for your driveway involves the desired thickness and driveway size. Here are some tips:
- Determine Desired Thickness: Decide on the desired thickness of your gravel driveway. The typical range is 2 to 4 inches (5 to 10 cm). Thicker layers provide more durability and stability. However, consider the gravel needed and your budget when deciding the thickness.
- Calculate Driveway Size: Multiply the length and width measurements of the area to calculate the total square footage. For irregularly shaped driveways, divide the area into smaller, more manageable sections and calculate each individually.
- Use an Online Calculator or Formula: Online gravel calculators or formulas can help you determine the amount of gravel needed based on your driveway's desired thickness and square footage. These tools consider the specific density of the gravel you plan to use.
Step 2: Clearing and Excavation
Clearing the area is essential in preparing the site for a gravel driveway installation. Here's a breakdown of the process and its significance:
A) Removing Obstructions:
Remove any plants, rocks, debris, or other obstructions from the driveway. This includes grass, weeds, shrubs, tree roots, and large rocks or boulders that may impede installation. Clearing the area ensures a clean and level surface for the subsequent steps.
B) Excavating the Area:
Excavation involves digging out the existing soil to create space for the gravel required layers. The excavation depth depends on various factors, including desired driveway thickness, soil conditions, and local drainage requirements. Here's why excavation is essential:
C) Proper Drainage:
Excavating the area allows for proper drainage by creating a slope that directs water away from the driveway surface. This helps prevent water accumulation, erosion, and potential damage to the driveway.
- Stability and Load-Bearing Capacity: Excavating to the desired depth provides a stable foundation for the driveway. By removing the topsoil and reaching a firmer subsoil layer, you ensure that the driveway can support the weight of vehicles without sinking or shifting.
- Uniform Driveway Thickness: Excavation helps achieve a consistent thickness across the driveway. By excavating to the desired depth, you create a level surface that allows for consistent placement of the gravel layers.
D) Considering Slope and Grading:
During excavation, it's essential to consider the slope and grading of the driveway. Ideally, the driveway should have a slight slope for proper water runoff. A gradient of 1% to 2% is typically recommended. Careful excavation and levelling ensure the driveway has the appropriate slope for adequate drainage.
E) Removal and Disposal
Once the area is excavated, remove the excavated soil, grass, rocks, and debris from the site. Proper disposal methods, such as recycling or designated waste management services, should be followed according to local regulations.
By clearing the driveway area of obstructions and excavating to the desired depth, you create a clean, stable, and adequately drained base for your gravel driveway. These steps are essential for ensuring the driveway installation's longevity, functionality, and overall quality.
Step 3: Base Preparation
Creating a solid base is a crucial step in constructing a gravel driveway. The base provides stability, strength, and proper drainage for the driveway surface. Here's why it's important:
A) Stability and Load-Bearing Capacity:
A solid base ensures that the weight of vehicles is evenly distributed across the driveway surface, preventing sinking or shifting. It provides a sturdy foundation that can withstand regular vehicle traffic and heavy loads.
B) Drainage:
A well-constructed base allows for proper water drainage. It prevents water from pooling on the surface, which can lead to erosion, deterioration, and potential damage to the driveway. Adequate drainage helps maintain the integrity of the driveway over time.
C) Weed Prevention:
A solid base with appropriate materials reduces the likelihood of weed growth through the gravel. By creating a barrier that impedes weed seeds from germinating and penetrating the surface, you can minimise weed maintenance and keep your driveway looking clean and well-maintained.
Now let's discuss the process of adding a layer of geotextile fabric to enhance stability and prevent weed growth:
Excavation and Clearing:
Remove any loose soil or debris from the base after clearing the driveway area and excavating to the desired depth.
Levelling and Compacting:
Ensure the base is level and compacted using a plate compactor or hand tamper. This step further enhances stability and load-bearing capacity.
Geotextile Fabric Installation:
Roll out a layer of geotextile fabric over the compacted base. Geotextile fabric is a permeable material that allows water to drain but prevents the growth of weeds. It acts as a barrier, keeping the gravel separate from the underlying soil and minimising the risk of weed penetration.
Securing the Fabric:
Secure the edges of the geotextile fabric using landscape staples or anchor pins. This helps prevent shifting or movement during the subsequent steps of gravel installation.
Additionally, adding a layer of crushed stone or compactable material as a base is another option to consider. This layer further enhances stability, improves drainage, and helps create a level surface for the gravel. The process involves:
- Determining Material Type: Choose a suitable material for the base layer, such as crushed stone, recycled concrete, or Class 5 aggregate. These materials should be compact and provide a firm foundation.
- Spreading and Compacting: Spread a layer of the chosen material evenly over the geotextile fabric. Compact the material thoroughly using a plate compactor or roller to achieve a solid level.
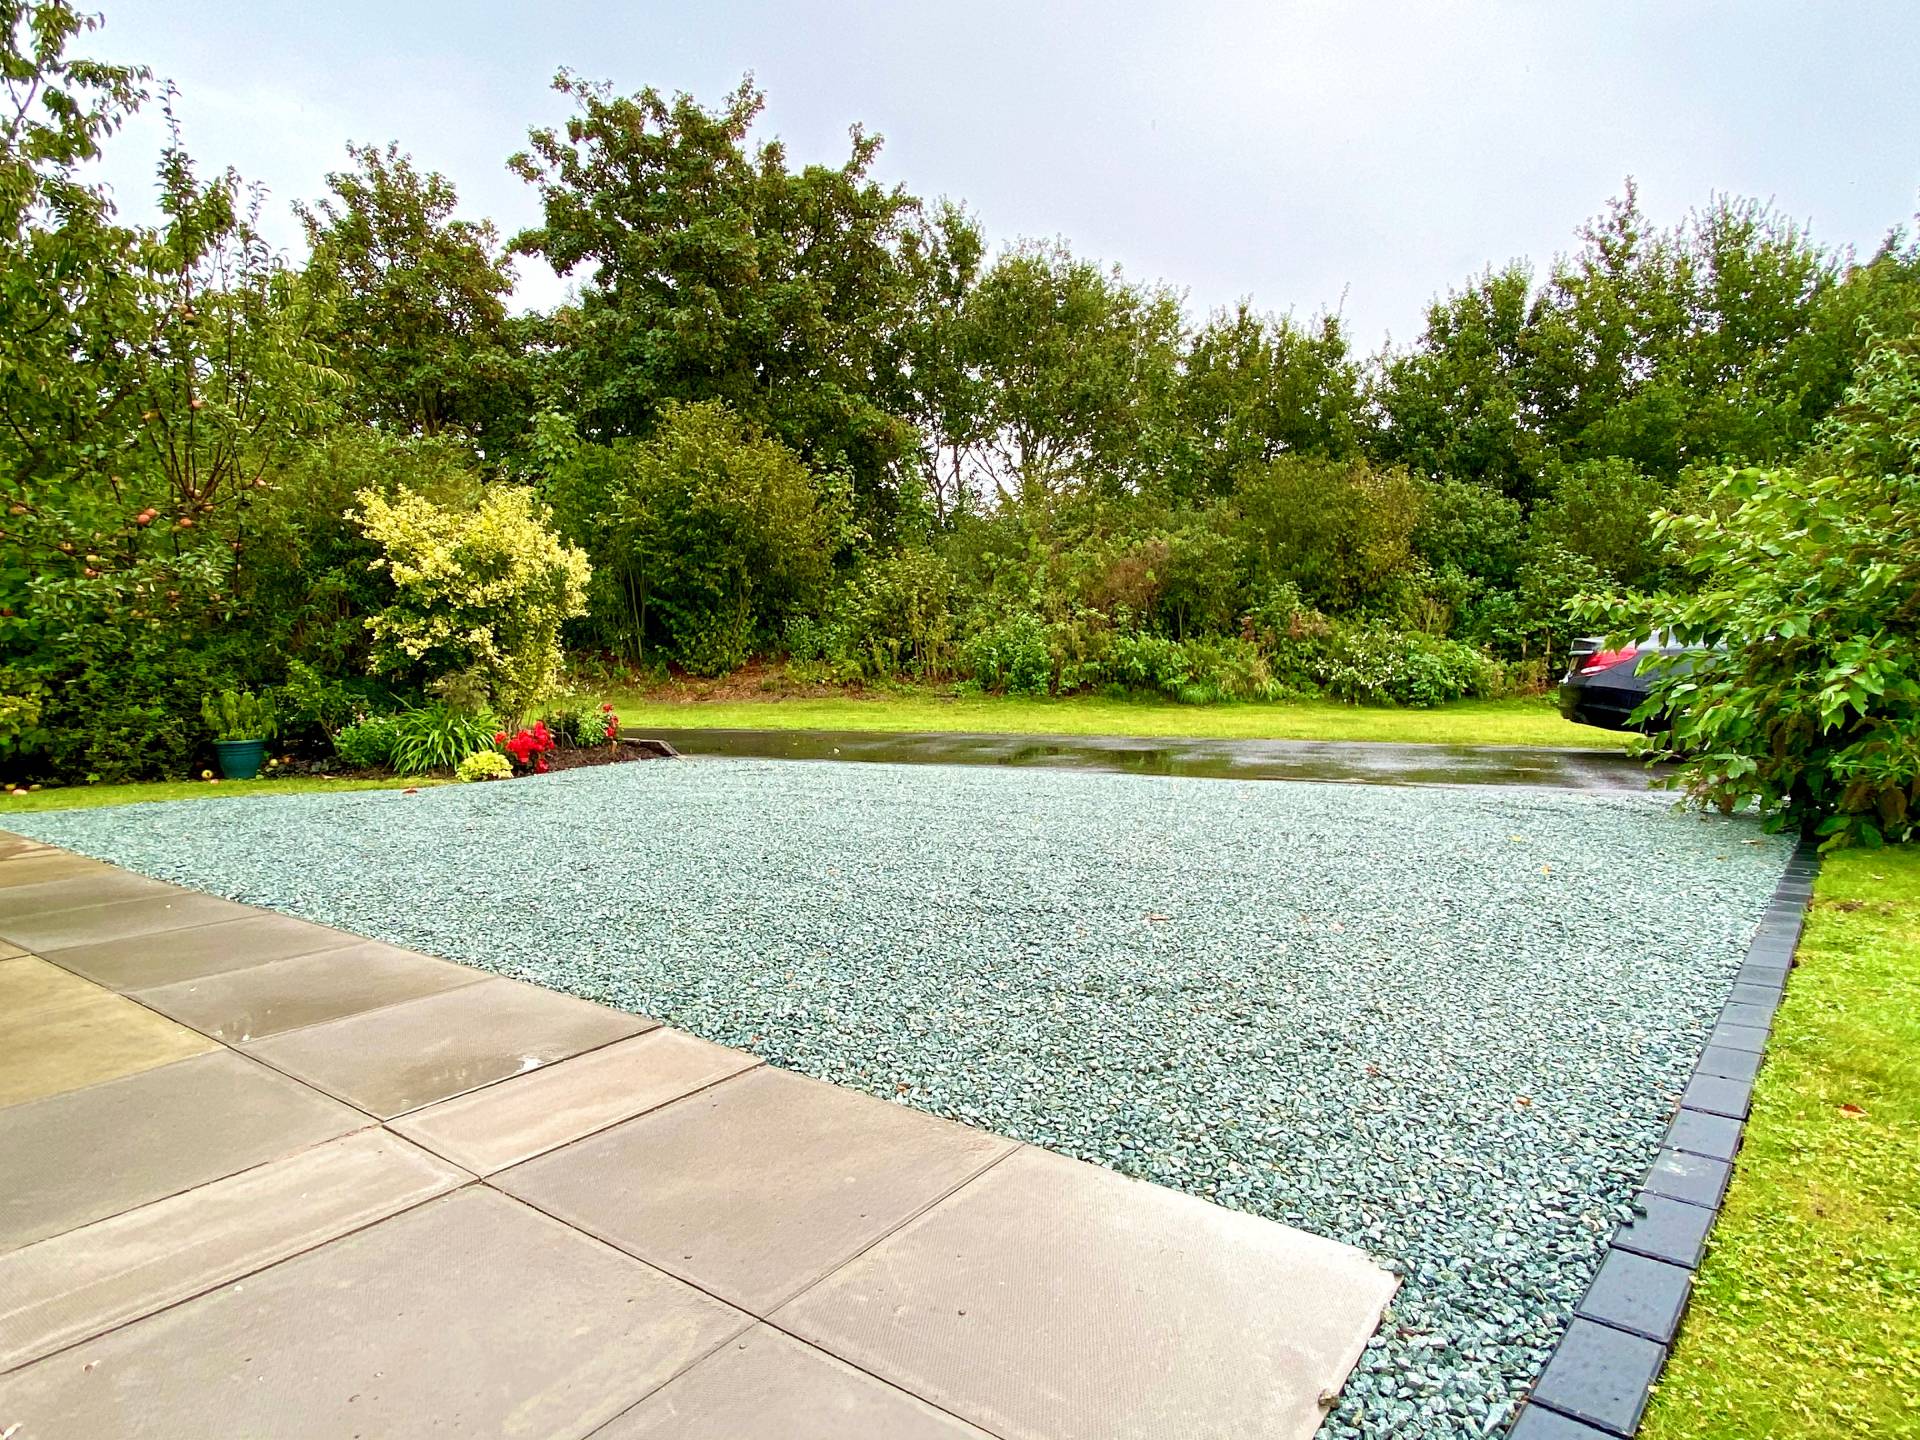
Step 4: Edging and Containment
Installing edging along the perimeter of a gravel driveway is vital for containing the gravel and preventing it from spilling onto surrounding areas. Here's why edging is essential and some options for edging materials:
A) Containment: Edging is a physical barrier that keeps the gravel within the designated driveway space. It prevents the gravel from spreading onto adjacent areas, such as lawns, flower beds, or walkways.
B) Stability: Edging helps maintain the stability and integrity of the driveway by keeping the gravel in place. It prevents the edges of the driveway from eroding or becoming uneven due to the movement of loose gravel.
C) Enhanced Aesthetics: Edging adds a clean and defined look to the driveway, enhancing its overall appearance. It creates a visual boundary between the driveway and other landscape elements, contributing to an organised and well-maintained aesthetic.
Now, let's discuss some standard edging material options:
D) Plastic Edging: Plastic edging is a cost-effective and versatile option for gravel driveways. It comes in various styles, such as flexible rolls or rigid strips. Plastic edging is easy to install and can be cut to the desired length. However, it may provide less durability than other materials.
E) Metal Edging: Metal edgings, such as aluminium or steel, offer durability and strength. It provides a sturdy barrier for containing the gravel and can withstand the weight of vehicles. Metal edging is available in different profiles, including straight or curved options, allowing for flexibility in design.
F) Concrete or Stone Edging: Concrete or stone edging provides a more permanent and visually appealing solution. It offers a solid, long-lasting boundary for the driveway. Concrete or stone edging can be designed to match the aesthetics of the surrounding landscape, adding a touch of elegance to the driveway.
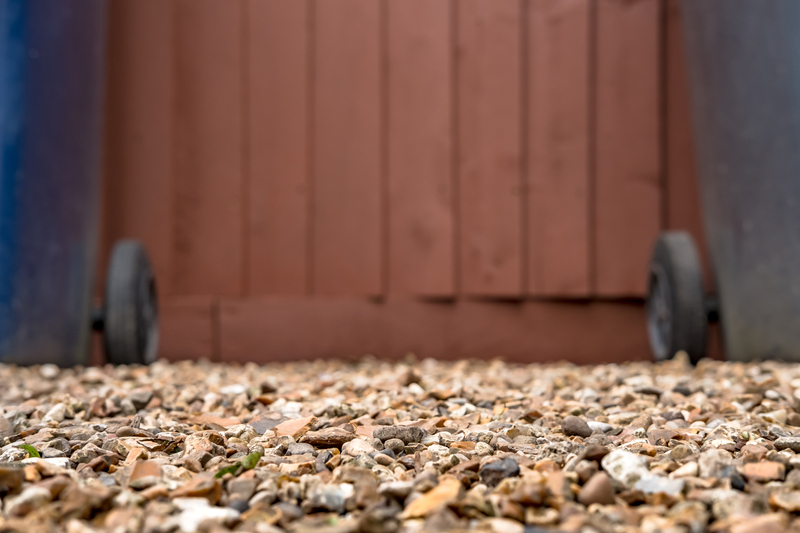
Step 5: Spreading Gravel
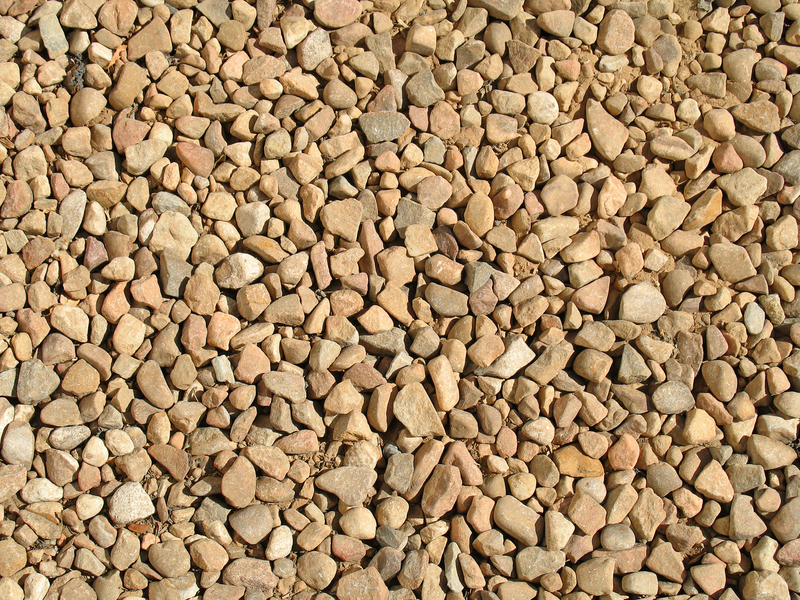
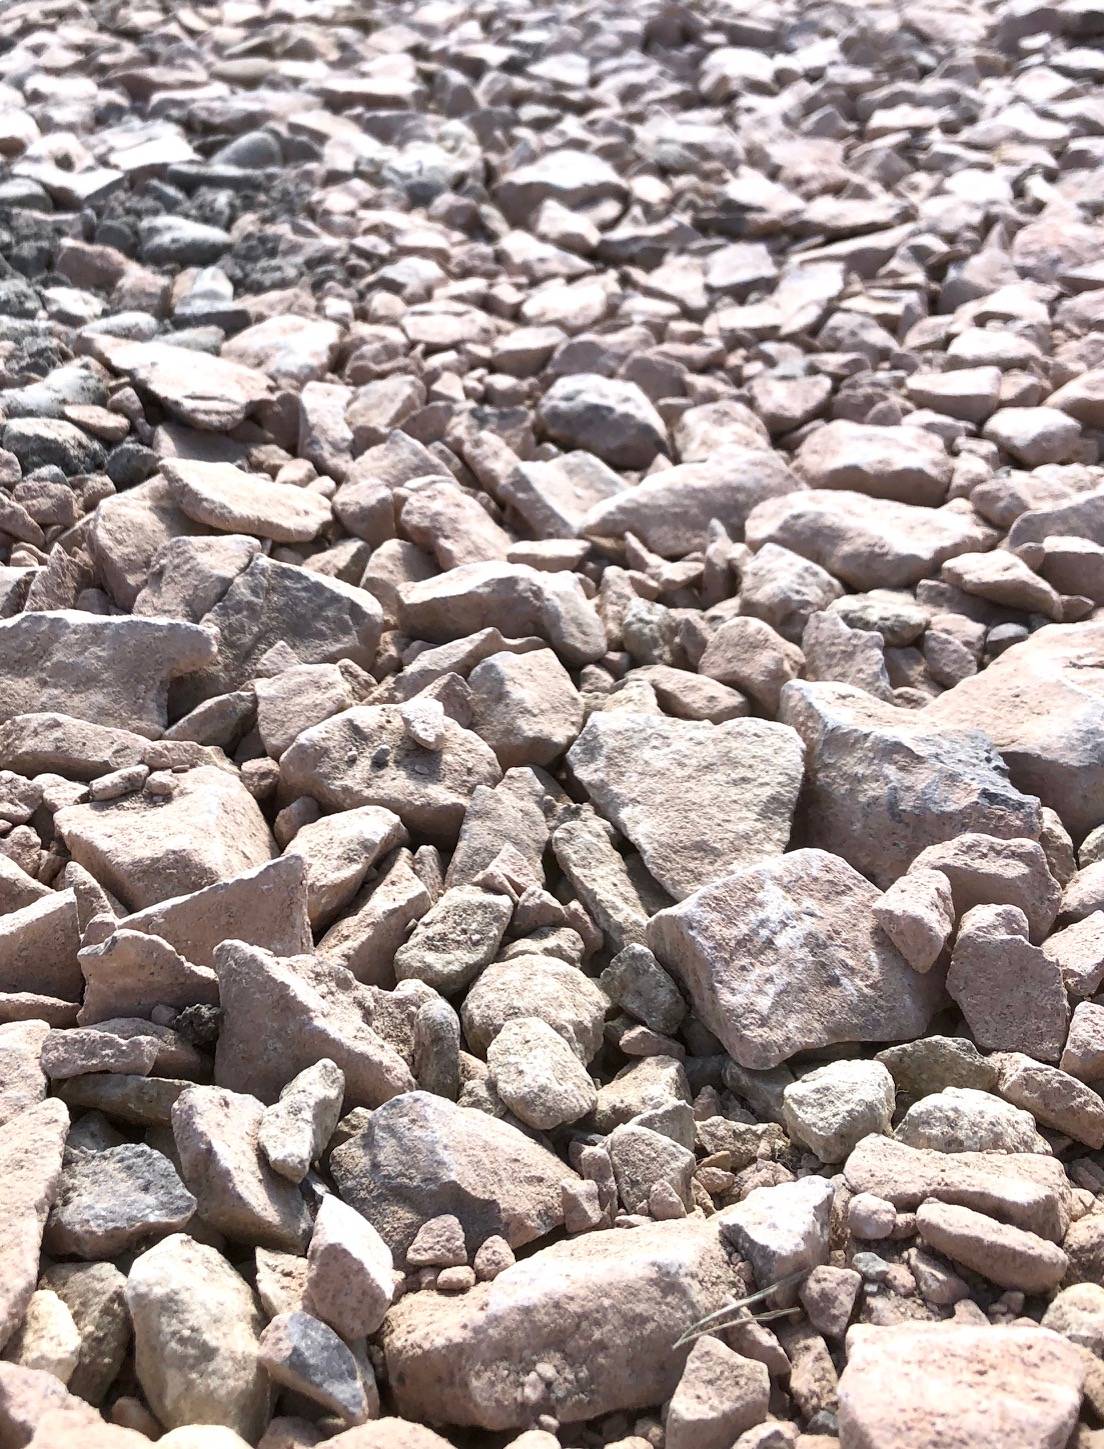
Various types are available when choosing gravel for driveways, each with its characteristics. Two standard options are crushed stone and pea gravel. Here's a breakdown of these types and their properties:
1. Crushed Stone: Crushed stone is a durable and popular driveway choice. It is made by crushing large rocks into smaller, angular pieces. Crushed stone provides excellent stability and load-bearing capacity. It interlocks well, creating a solid surface that resists shifting and rutting under vehicle traffic.
2. Pea Gravel: Pea gravel consists of smooth, rounded stones that are typically smaller than crushed stone. It offers a more decorative option with a softer appearance. While not as stable as crushed stone, pea gravel still provides adequate support for light to moderate vehicle traffic.
Now, let's explore the process of evenly spreading the gravel over the prepared base layer:
1. Preparation: Ensure that the base layer is properly compacted, laid directly and free from any debris or irregularities. This will provide a solid foundation for the gravel.
2. Quantity Calculation: Calculate the amount of gravel you need based on the desired thickness and driveway dimensions. A general recommendation is to aim for a minimum thickness of 4-6 inches for a stable gravel driveway.
3. Gradual Spreading: Begin by evenly distributing the gravel along one section of the driveway. Use a shovel, rake, or specialised gravel spreader to achieve an even layer. Work methodically, moving from one section to another until the entire driveway is covered.
4. Raking and Levelling: After spreading the initial layer, use a rake or grading tool to distribute the gravel more evenly. Rake the gravel back and forth to fill in low spots and ensure consistent coverage. Pay attention to the edges and corners to maintain a clean and defined look.
5. Compaction: Using a vibrating plate compactor or roller to compact the surface once the gravel is evenly spread and levelled. This helps to settle the gravel, increase stability, and reduce the risk of future shifting.
Here are some tips for achieving the desired thickness and evenness of the gravel layer:
- Measure the depth of the gravel periodically using a measuring stick or tape measure to ensure consistency.
- Take your time and work in small sections to control the spreading process.
- Regularly step back and visually inspect the surface to identify any uneven areas that need adjustment.
- Consider using guides or string lines as reference points to help maintain straight edges and consistent thickness.
Step 6: Compaction and Maintenance
Compacting the gravel layer of a driveway is crucial for ensuring its stability and durability and helps with regular maintenance. Here's why compaction is essential and different methods you can use:
Importance of Compacting Gravel:
- Stability: Compacting the gravel increases its density, reducing the chances of shifting or settling over time. It creates a solid and stable surface that can withstand the weight of vehicles without rutting or deformation.
- Durability: Proper compaction enhances the durability of the gravel driveway. It helps to minimize the wear and tear caused by regular traffic, preventing the gravel from loosening or deteriorating prematurely.
- Improved Drainage: Compacted gravel allows for proper water drainage. It prevents water from pooling on the surface, reducing erosion risk and maintaining the driveway's integrity.
Now, let's discuss different methods of compaction:
1. Vibrating Plate Compactor: A vibrating plate compactor is popular for compacting gravel driveways. It uses vibration and weight to compress and settle the gravel. The machine is operated by moving it systematically across the entire surface, applying even pressure to achieve uniform compaction.
2. Garden Roller: A garden roller is another option for compacting gravel. It consists of a drum filled with water or sand, which provides weight and pressure. Rollers are manually pushed or pulled across the driveway, evenly distributing the weight to compact the gravel. This method may be more suitable for smaller driveways or areas inaccessible to larger machinery.
Conclusion
Proper planning allows you to design a perfect driveway that meets your needs and complements your property. Thorough preparation ensures a stable foundation and adequate drainage, preventing future issues like sinking or water pooling. Ongoing maintenance helps preserve the driveway's appearance, function, and longevity.
By confidently taking on this project and following the necessary steps, you can enjoy the benefits of a beautiful and functional gravel driveway. It provides an affordable, low-maintenance, and versatile option that adds value to your property.
Here at Henson Surfacing, we would love to help you with any driveway and surfacing needs. From paths to a sub base driveway or main road, please contact us for any queries, help or information.
